How to Set Up a cPanel Email Account in Android
Print- 0
You can add a cPanel email account to your Android's built-in email application. You don't need to use any external apps from Google Play.
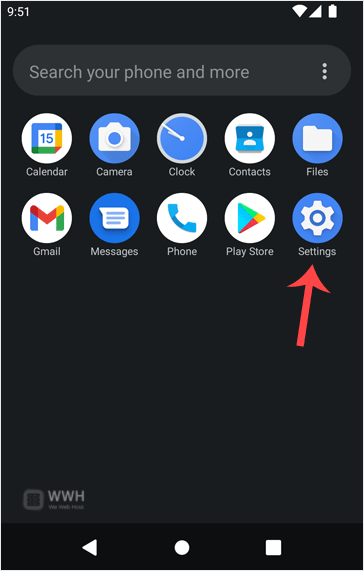
1. Open your Android mobile and swipe up from the bottom of the screen to the top. Find the Settings icon and open it.
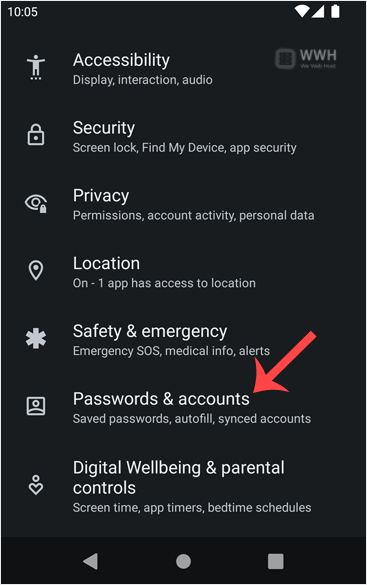
2. Scroll down to the Passwords & Accounts option and tap on it.
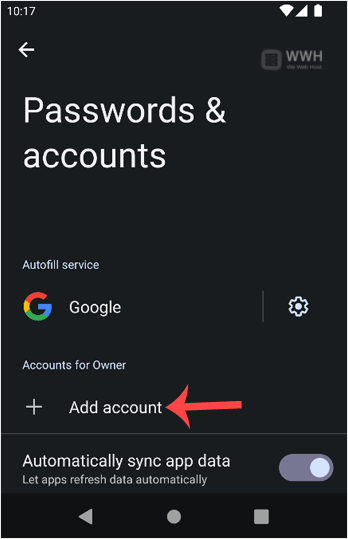
3. Tap on + Add account.
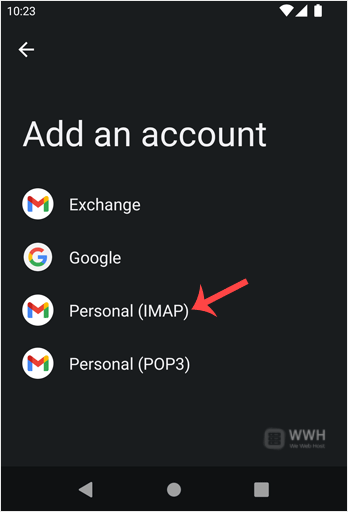
4. Now, choose the Personal IMAP option.
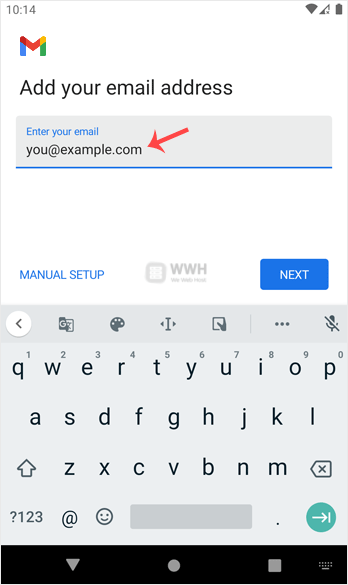
5. In the "Add your email address" section, enter your full email address, such as you@example.com. Then tap Next and enter your password. Confirm with Next again.
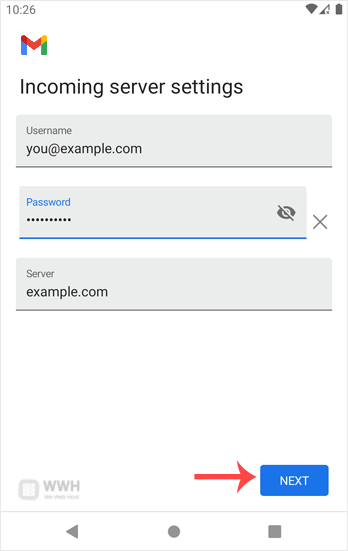
6. Look at Incoming Server Settings and Outgoing Mail Server Settings. If everything looks OK, then tap Next.
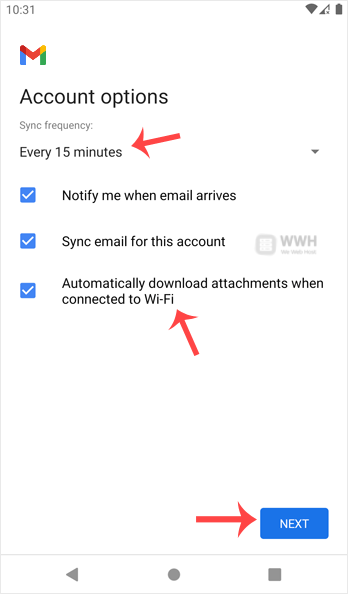
7. You can select Email Sync Frequency and other options under the accounts option. Choose as per your needs and press Next.
8. In the Your Name input box, enter your name and press Next.
Congratulations! From now on, whenever you receive an email, you will get a notification. You can see a list of email accounts from your Android Settings >> Passwords & Accounts.
You can also access it directly from the built-in Gmail application.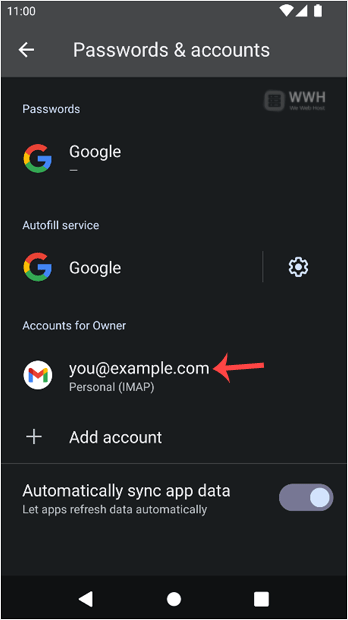
Check our other Android tutorials on how to manually read/check emails or compose and send a new message.
Was this answer helpful?
Related Articles
How to Read cPanel Emails in Android Suppose you have already added your cPanel email accounts to your Android built-in email...
How to Delete cPanel Emails in Android We hope you have already read our tutorial on How to Set Up a cPanel Email Account in Android,...
How to Fetch - Sync Emails in Android We hope you have already read our tutorial on How to Set Up a cPanel Email Account in Android,...
How to Send an Email via Android We hope you have already read our tutorial on How to Set Up a cPanel Email Account in Android,...
How to Set Up an Email Signature in Android We hope you have already read our tutorial on How to Set Up a cPanel Email Account in Android,...
Powered by WHMCompleteSolution


